How to Draw a Pumpkin
By:
Date:
As the leaves turn golden and the air grows crisp, there’s one symbol that captures the essence of autumn like no other: the pumpkin.
From Halloween jack-o’-lanterns to cozy pumpkin spice lattes, this iconic squash has carved its way into our hearts and traditions.
But beyond its festive allure, the pumpkin’s round shape, intricate lines, and rich colors make it a delightful subject for budding and seasoned artists alike.
Whether you’re looking to sketch a simple silhouette or paint a detailed masterpiece, our step-by-step guide on “How to Draw a Pumpkin” will help you bring this autumnal favorite to life on paper.
So grab your pencils and brushes, and let’s embark on this artistic journey together.
Choosing Your Artistic Arsenal: Traditional vs. Digital
The allure of drawing a pumpkin isn’t just in the final masterpiece, but also in the journey of selecting the right tools. Whether you’re embracing the tactile feel of paper and pencil or venturing into the digital realm, your choice of supplies can make all the difference.
For the Traditionalists – Paper, Pencil, and Pen
Having dabbled in both the worlds of traditional and digital art, I’ve had the privilege of experimenting with a myriad of tools. While I haven’t ventured into every brand or type available, I can certainly vouch for a few favorites from my artistic endeavors. For those leaning towards the classic approach of paper and pencil:
- Pens & Pencils: Faber Castell stands out for its consistent quality and wide availability in craft stores.
- Paper: Strathmore Bristol drawing paper is my go-to. It offers a range of sizes and weights, catering to different project needs. Remember, the weight of your paper matters, especially if your artwork demands resilience against extensive erasing and inking. My personal favorite for heavy inking? The sturdy 100 lb. paper, typically available in 20-sheet sketch pads.
- Additional Tools: While not essential, tools like rulers, corner instruments, and compasses can be invaluable. If you’re looking to keep things simple, everyday items like book edges or plastic cards can serve as makeshift straight edges. These tools, while basic, lay the foundation for a polished final piece.
For the Digital Enthusiasts
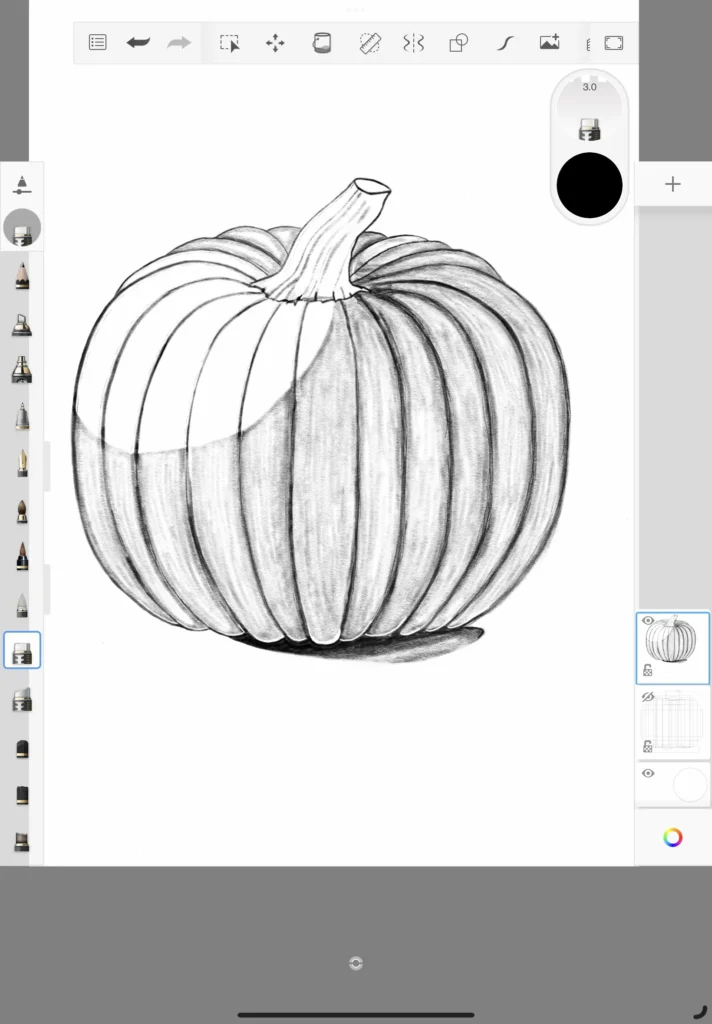
Embarking on a digital art journey requires a bit of tech-savviness. My current setup includes an Apple iPad Air 5th generation paired with an Apple Pen. For sketching, I’ve found the free version of the Sketchbook App on the Apple Store to be quite adept.
Now that we’ve curated our toolkit, let’s delve into the steps to breathe life into your very own pumpkin sketch.
How to Draw a Pumpkin: Step-by-Step

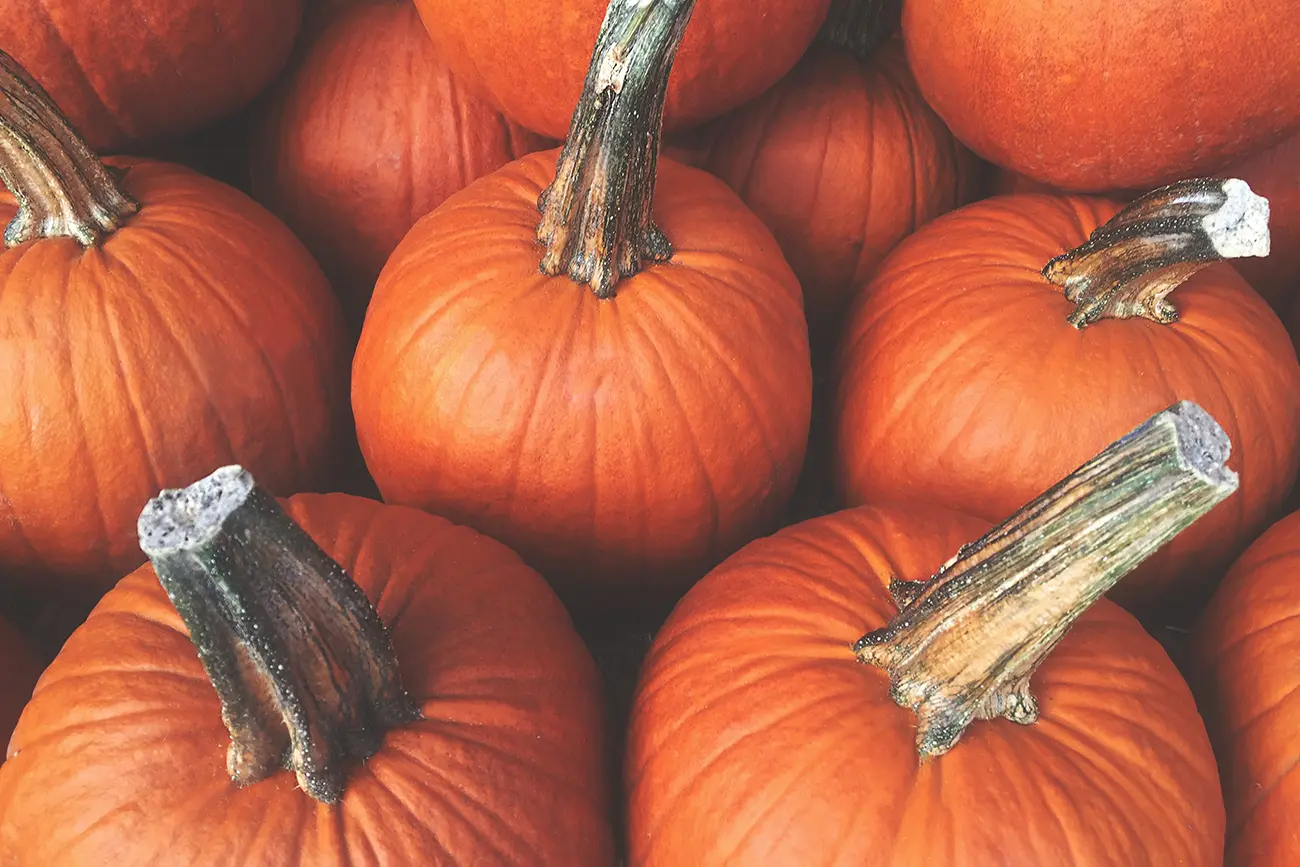
Step 1: Pick Your Pumpkin
Every masterpiece begins with inspiration. Choose the pumpkin that speaks to you, and for the purpose of this guide, I’ll be drawing from a particular pumpkin I’ve selected. Just as a contractor lays the foundation for a house, artists too must establish a robust framework. This foundational sketch will be our guiding beacon, ensuring our pumpkin takes shape with precision and grace.
Step 2: Embrace Geometry
Nature, in all its complexity, often hides geometric patterns within its creations. While some forms may be elusive, there’s always an underlying structure, a dance of shapes and forms that come together in harmony.
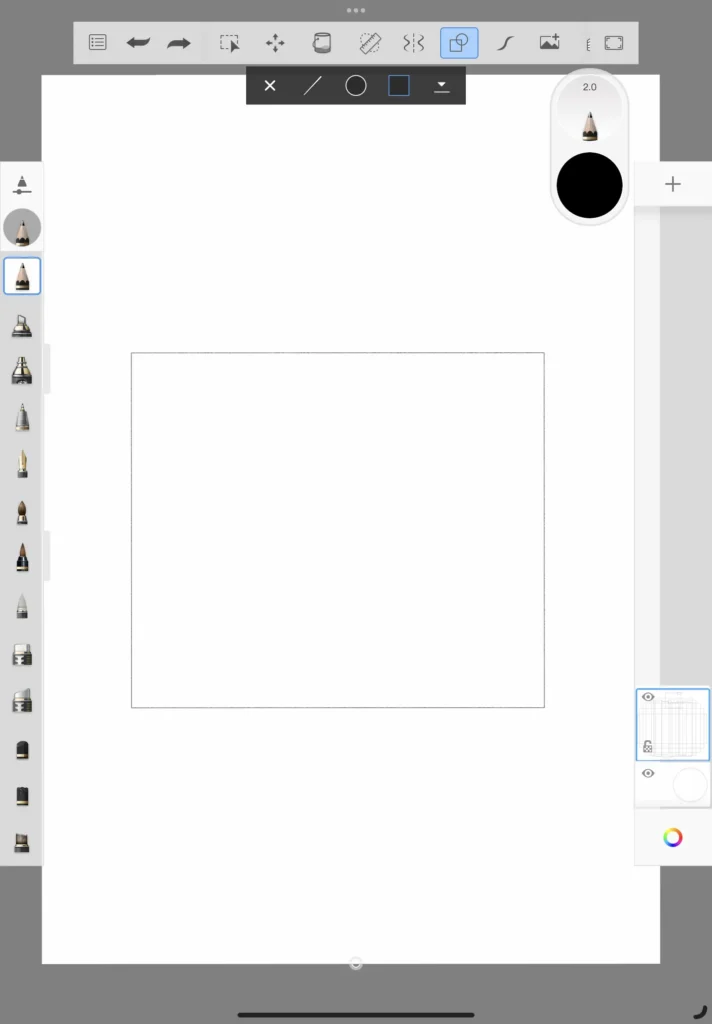
At first glance, a pumpkin might seem like a mere sphere. However, delve deeper and you’ll find it can comfortably nest within the confines of a square. This square becomes our starting point, defining the pumpkin’s maximum dimensions.
For Traditional Artists: When sketching on paper, reach for your straight edge or ruler to craft the shapes we’ll explore. Opt for a light pencil lead or, if you have a single pencil type, sketch with a gentle hand. These faint lines will serve as your guiding references, evolving with each stroke.
For Digital Enthusiasts: Modern drawing software is equipped with a plethora of shape-creating tools. Begin by crafting squares and rectangles. Once your structural base is set, adjust the layer’s opacity, making it translucent. Layering is the magic of digital art; add a fresh layer atop your guidelines. This pristine canvas allows you to sketch freely, without disturbing the foundational guide beneath.
Step 3: Add Geometric Detail
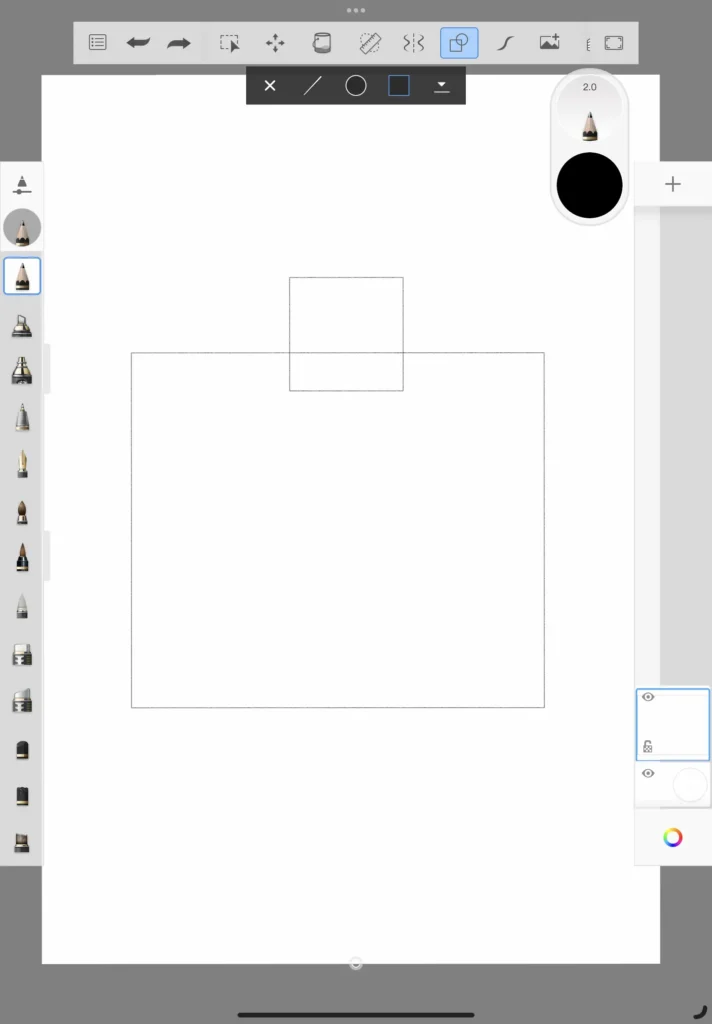
Every added detail, every stroke, and every structure simplifies the artistic journey ahead. Think of it as positioning a bicycle atop a hill; once the groundwork is set, the ride becomes effortlessly smooth. Our initial square laid the foundation for the pumpkin’s body. Now, it’s time to crown our creation with its stem. Sketch a smaller square where the stem graces the pumpkin’s silhouette. Remember, art isn’t about achieving perfection with every line. It’s a process of creation, iteration, and refinement. Just as a potter molds a raw block of clay, shaping and honing it into a delicate cup, we too are sculpting our vision, one detail at a time.
Step 4: Layer in More Geometric Details


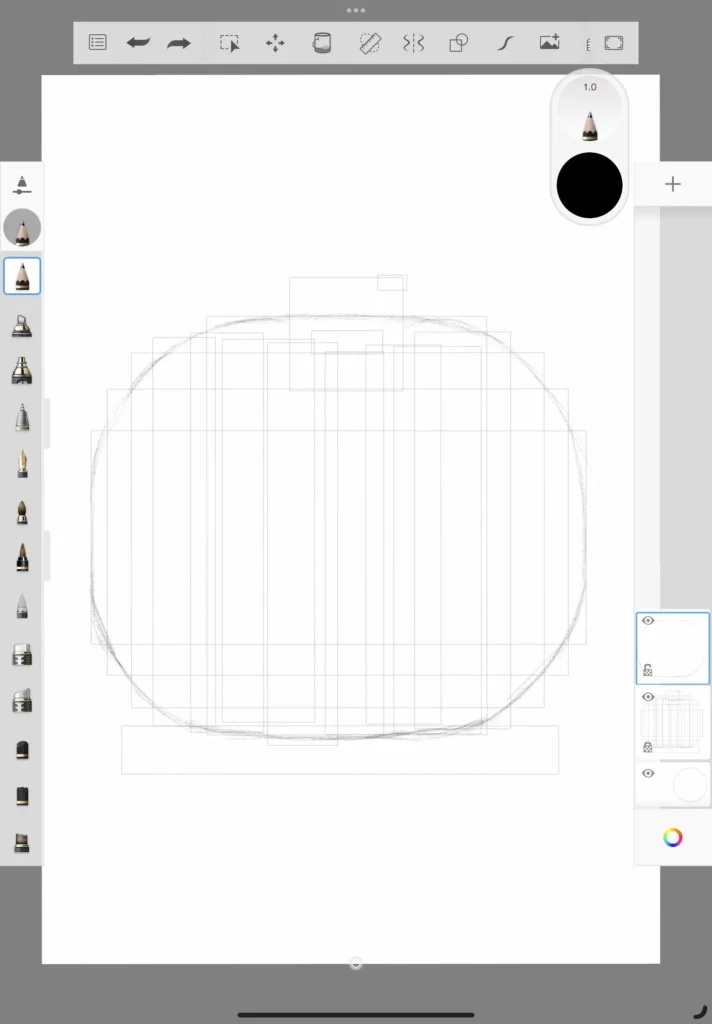
With our foundational elements firmly in place, it’s time to delve deeper and embrace the intricate details. Let’s turn our attention to the pumpkin’s characteristic vertical ridges. Observe closely and sketch rectangles where these ridges manifest. Continue this process, layering rectangles not only for the ridges but also to represent the pumpkin’s central bulges. Remember, it’s these nuances that will breathe life and authenticity into our creation.
If your medium is digital, adjust the opacity of your current layer so that new layers stands out more as you draw.
Step 5: Begin to Shape the Pumpkin’s Outline
Perfection isn’t our immediate goal; it’s the journey of refinement that truly matters. Using the structures and guidelines you’ve meticulously set, begin sketching a preliminary outline of the pumpkin’s body. As your creation unfolds, feel free to adjust and fine-tune, allowing your artistic intuition to guide each stroke.

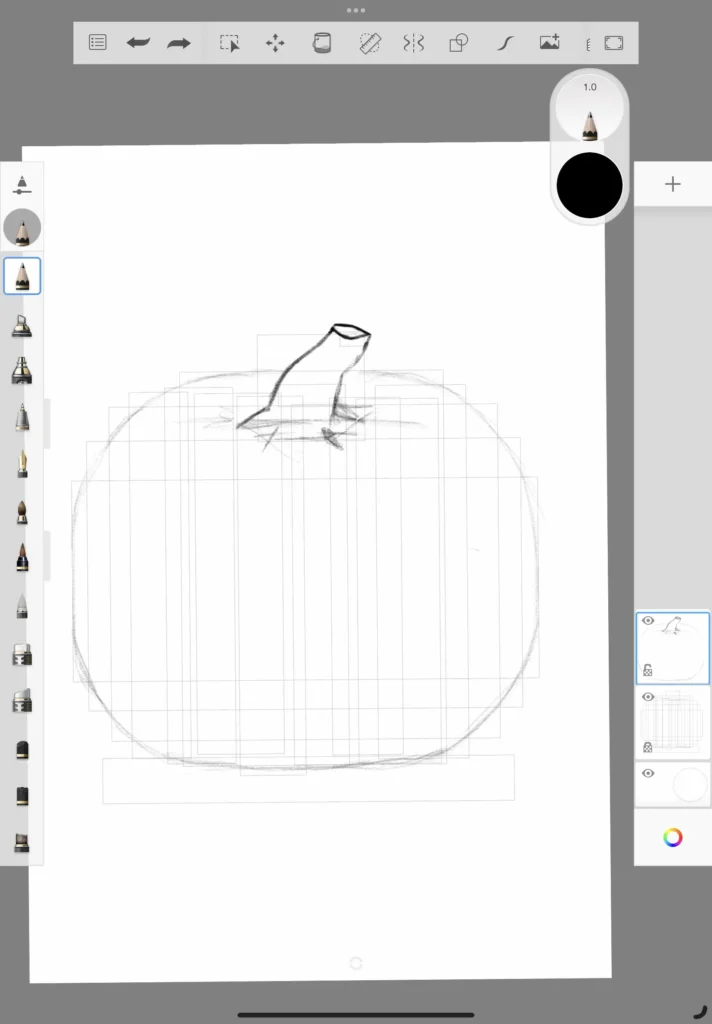
Step 6: Start on the Stem
Turn your attention to the pumpkin’s stem. To capture its essence with clarity and precision, I recommend employing a series of straight lines. This approach not only simplifies the process but also provides a clear framework for the stem’s unique form.
Step 7: Add More Structure to the Stem
Drawing, much like the construction of homes, bridges, or any other thing that is created or built, is a layered process. It’s about nurturing a foundational framework and meticulously layering details atop it. As you delve deeper into the stem’s intricacies, always keep your reference pumpkin image close at hand. Let it guide your strokes, and don’t hesitate to make adjustments.
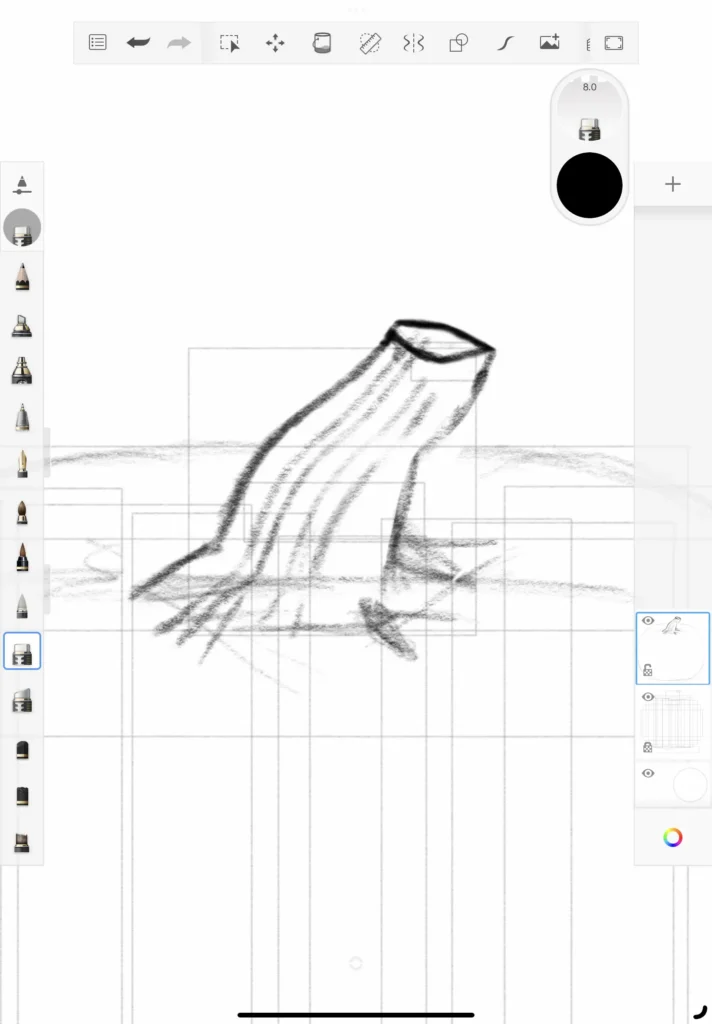
Step 8: Begin to Refine the Stem
Begin to weave in the stem’s finer intricacies. As you grow confident with certain sections, accentuate them with bolder strokes.
Step 9: Begin Refining Your Pumpkin


With the stem crafted, it’s time to bring our attention on the pumpkin’s body. Let the structures you’ve previously sketched guide you, but remember, they’re just suggestions. Embrace the freedom of artistic expression, allowing your intuition to decide what feels right and looks the most captivating.
Step 10: Start Adding Depth
It’s time to infuse depth into your creation. Begin by introducing bolder, more pronounced dark lines, drawing inspiration from your earlier sketches. These lines will mirror the final shading of your masterpiece.
Revisit the pumpkin’s ridges, refining them with each iteration. And remember, art is as much about subtraction as it is about addition. Feel free to erase any markings that don’t resonate, ensuring every detail contributes to the pumpkin’s overall elegance.
At this point, you have drawn your pumpkin and if you wish, you can stop here.
However, there are some additional, easy things you can do to make your hand drawn pumpkin look even more realistic.
How to Draw a Pumpkin: Bonus Steps
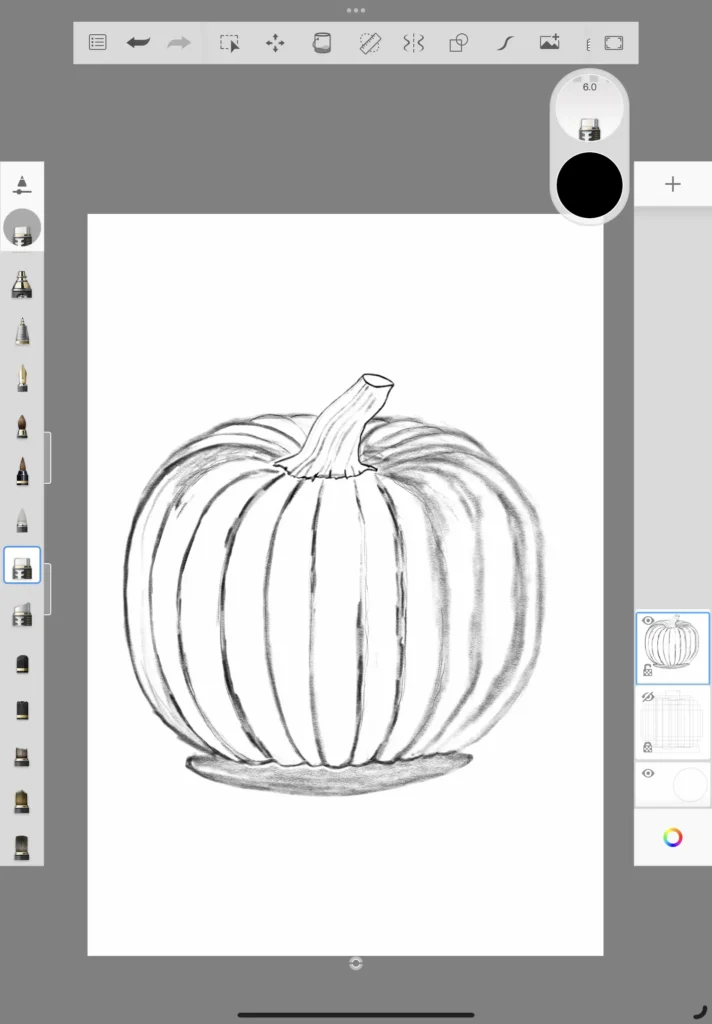
Bonus Step 11: Start Shading
Referring to your reference image, look at the edges of the ridges and the differences in shading. Then, use your pencil to start shading along the sides of your darker, more defined, lines.
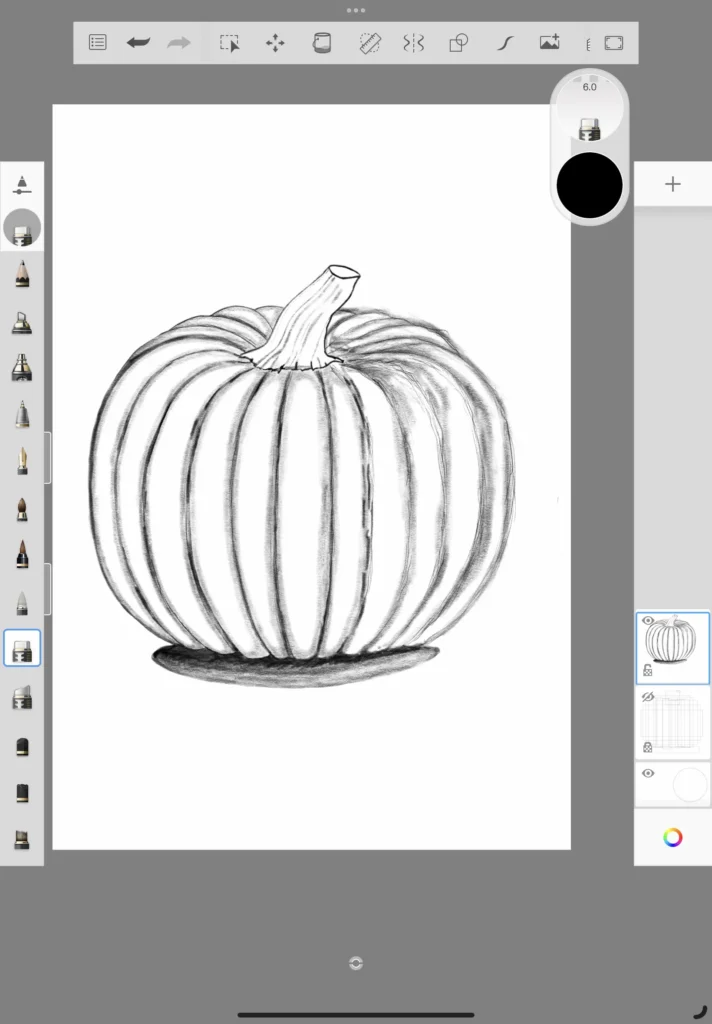
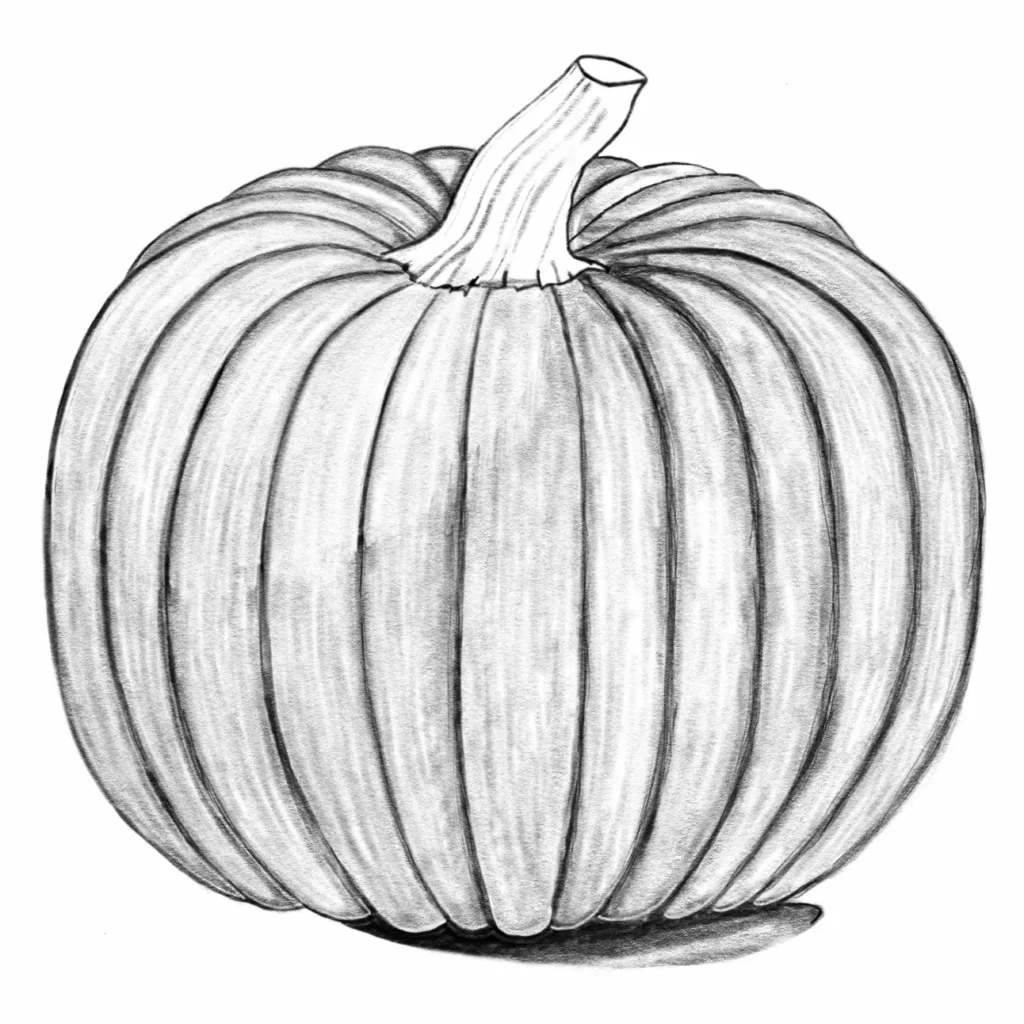
Bonus Step 12: Refine Your Shading
Shading is an art form with myriad techniques, and the approach I’ve embraced is but one of many. Remember, your canvas is a realm of possibilities; alterations, erasures, and modifications are all part of the journey.
For this piece, I’ve taken cues from my reference image, letting the light cascade from the upper left, bathing that section of the pumpkin in a soft glow. Conversely, the lower right retreats into shadow. Guided by this interplay of light and dark, I’ve nuanced the pumpkin’s shading, constantly cross-referencing to ensure authenticity.
The Finishing Touches
Bravo on your incredible progress! As you stand on the cusp of completion, consider layering your shading, adding depth and dimension step by step. While you now possess a beautifully crafted image, remember that art is ever-evolving. Feel free to intensify or soften the shading, erase or introduce lines, and fine-tune to your heart’s content. But take a moment to revel in your achievement — you’ve breathed life into a pumpkin masterpiece. Kudos to your artistic prowess!
Conclusion
As the golden hues of autumn envelop our surroundings, the humble pumpkin stands as a testament to nature’s beauty and the stories it inspires.
Through this guide, we’ve not only learned to capture its essence on paper or screen but also embarked on a journey of artistic discovery.
Drawing is more than just lines and shades; it’s about seeing the world with a fresh perspective, embracing imperfections, and celebrating the process as much as the final piece.
Whether you’re a seasoned artist or a budding enthusiast, may this guide serve as a stepping stone to countless creative adventures ahead.
Here’s to many more masterpieces, inspired by the simple wonders around us.
Happy pumpkin drawing!